Understanding the language used for shot size/camera angles and combining them with the terms used for camera motion can help you identify and communicate the type of shot you have been assigned. Additionally, it can help you break a shot into components so that you can get a better estimate of how long something is going to take. In this article, we look at and demystify the industry terms used to describe camera shot sizes and angles.
Shot Size, what is it?
It may not initially seem like the shot size will affect your matchmoving in the same way camera movement does but, depending on how we arrive at a specific framing choice, it can provide us with some useful clues that can help during the matchmoving process. Let’s take a look at the terms we use to describe the shot size and angle.
The shot size determines how large or small a character or subject is in the frame, relative to their surroundings. How we arrive at the various framing sizes can also impact matchmoving.
Traditionally, a favoured single focal length would be chosen by the director/director of photography for a scene and the camera would be physically moved backwards and forwards until the correct shot size is achieved. Alfred Hitchcock famously used 50mm throughout most of his films, building the sets to accommodate the focal length. The benefit of the single focal length is that the distortion will be consistent across all shots.
Sometimes it is not possible to use a given focal length due to the physical location of a scene. For example, in order to achieve the angle of view required for a particular framing size in a small room the DOP may have to swap to a shorter focal length. This can potentially have the effect of distorting trackable features over the frame.
Occasionally, the shot size needs to be adjusted after shooting has finished. This could be for a technical reason, such as cropping an undesired element out of a shot, or it could be for a thematic reason, perhaps because there wasn’t coverage from a specific frame size for that section. This is where one of the most tricky situations for matchmoving can arise. Panning and scanning a clip in post will mean that the optical centre no longer coincides with the centre of the image, which can adversely affect how the camera motion, focal length, and distortion are calculated.
We are going to start by looking at the widest perspective and move towards the narrowest.
Extreme long shot (ELS) / Very long shot (VLS)

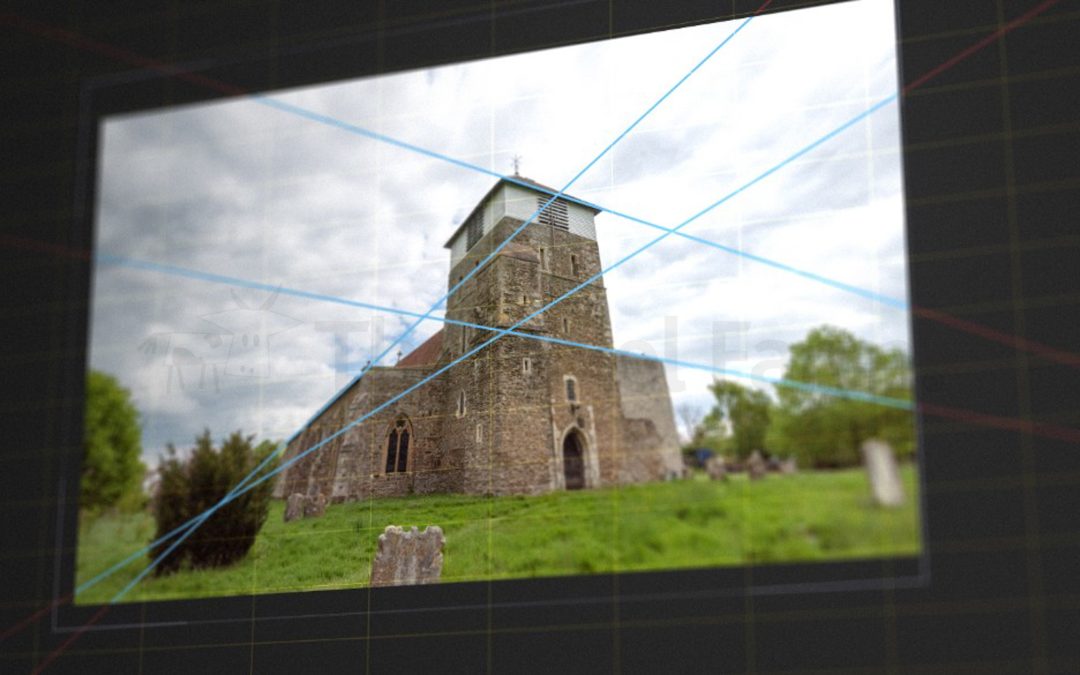
Starting with the extreme/very long shot, this type of shot is used to establish a scene, usually the geography of where a character or subject may be. As long as there is sufficient parallax and low distortion, the ELS can provide many trackable features due to the large angle of view.
Long shot (LS)

This is sometimes referred to as a wide shot or full shot and is frequently used for action shots showing the character or subject in full and in context with their surroundings. Often used for master shots, this shot size along with the ELS is one of the more common shots you will come across when creating set extensions for a scene.
Medium long shot (MLS)

The medium long shot is also known as the three quarters shot and refers to the framing of a character from the knees up. Wider than a medium shot and closer than a long shot, this particular shot type allows for multiple characters and elements to be in frame at the same time while being close enough for dialogue.
Medium shot (MS)

The medium shot frames the character from the waist up, which is why it is sometimes called a waist shot. It is a general purpose shot and is intended to direct the viewer’s attention to the character and motions rather than the surroundings.
Medium close up (MCU)

Closer than the medium shot the medium close up is usually framed from the chest or shoulders up and is used to showcase a character’s face. It is used mostly for dialogue shots and the surroundings generally don’t feature heavily in this framing set-up.
Close up (CU)

Framed from the neck up, the character’s face will almost fill the entire frame. The close up is used to focus the viewer more intensely on the character’s facial detail and expressions. You might see a shot like this where geometry tracking is required to apply digital makeup effects or to replace the head entirely. It can be tricky to establish camera placement with a close-up as the trackable features may be obscured and or blurred.
Extreme close up (ECU)

Sometimes referred to as a big close-up, the extreme close-up will frame only a portion of a character’s face. An example of this would be where a character’s eyes fill most of the frame. A famous example of such a shot can be seen in the opening to Blade Runner (1982) where the character’s eye fills the frame. As with the close-up, you might come across this type of shot where geometry tracking is required to change or replace a key part of the character’s face.
Insert (INS)

The definition of insert will vary greatly depending on whom you talk to, but the traditional definition is a detail shot of an inanimate object or part of the body other than the head. The ultimate purpose is to take a closer look at something in the scene. An example of an insert shot is a hand operating a dial on a radio. Inserts can be taken from multiple angles but will generally be a tight shot size similar to a close-up. You might come across this type of shot size when matchmoving the camera so that a digital object can be placed in the scene.
Angles
Knowledge of the camera’s angle can be very useful in matchmoving. It helps us to determine the orientation of the camera relative to the subject. Below are some of the more common angles you are likely to come across.
Eye level

Sometimes referred to as a neutral, this particular angle is filmed from the viewer’s perspective or the character’s eyeline. With this particular type of shot, you can usually make an educated guess that the camera will be around 5–6ft from the ground.
High angle

Taken from above eye level with the camera pointed downward, this angle is often used to convey the vulnerability of a character or subject in the scene. The elevated perspective of this particular angle type can sometimes make it easier than others to establish a ground plane.
Top shot

Also called a birds-eye, this shot is taken from a straight down perspective usually from quite a high elevation to show context of the character and their surroundings. Due to the flattened perspective, it can be tricky to matchmove, especially if shot from a high elevation on a longer focal length with little change in the elevation of the geography.
Low angle

Shot from a low position and angled up, this is perhaps one of the more tricky angles to matchmove as there is no easy way of determining where the ground plane is. Additional cameras filming the same scene can potentially be used in PFtrack to accurately determine the low angle’s orientation.
Canted angle

Also known as a dutch tilt, this framing rolls the camera on the side axis so that the horizon is not parallel with the bottom of the frame. Canted angles are often used to convey unease within a scene.
Whilst certain shot sizes and angles can seem problematic at first, there are useful tools in PFTrack that can help you find a solution. For example, you can matchmove multiple cameras into the same 3D scene by looking for similar features in each of the shots. You can even use set photos and witness cameras to help.
Now when you hear someone say they are working on a low-angle, long shot tracking into a medium close-up, you can already picture what this might look like and the components that make up the shot.